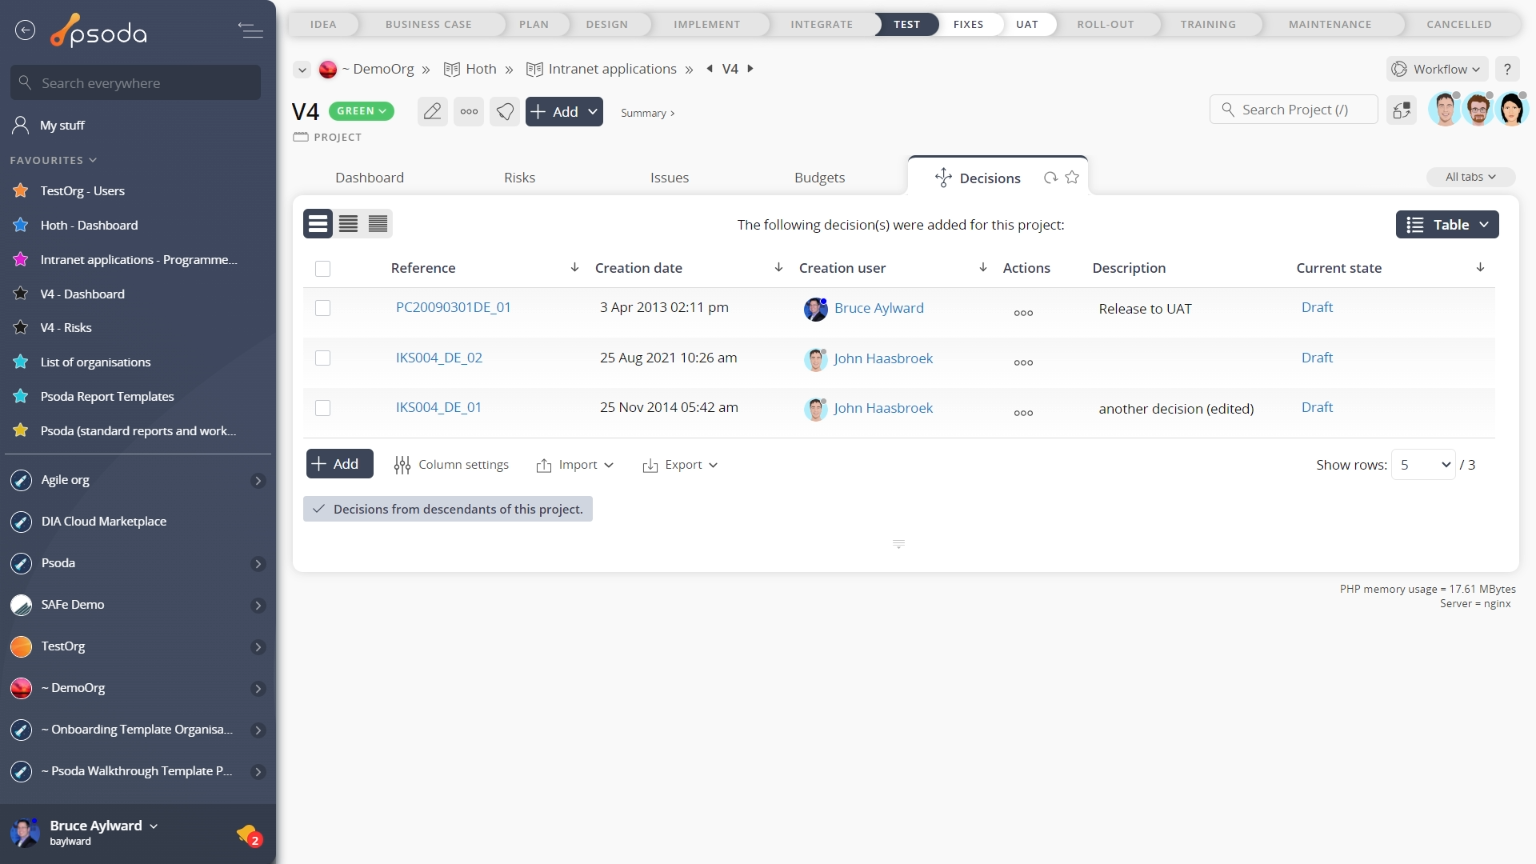
This popup form can be accessed via the  add menu in the top header area of the
  programme or
  project view pages, as shown in Figure 1. Alternatively you can access the
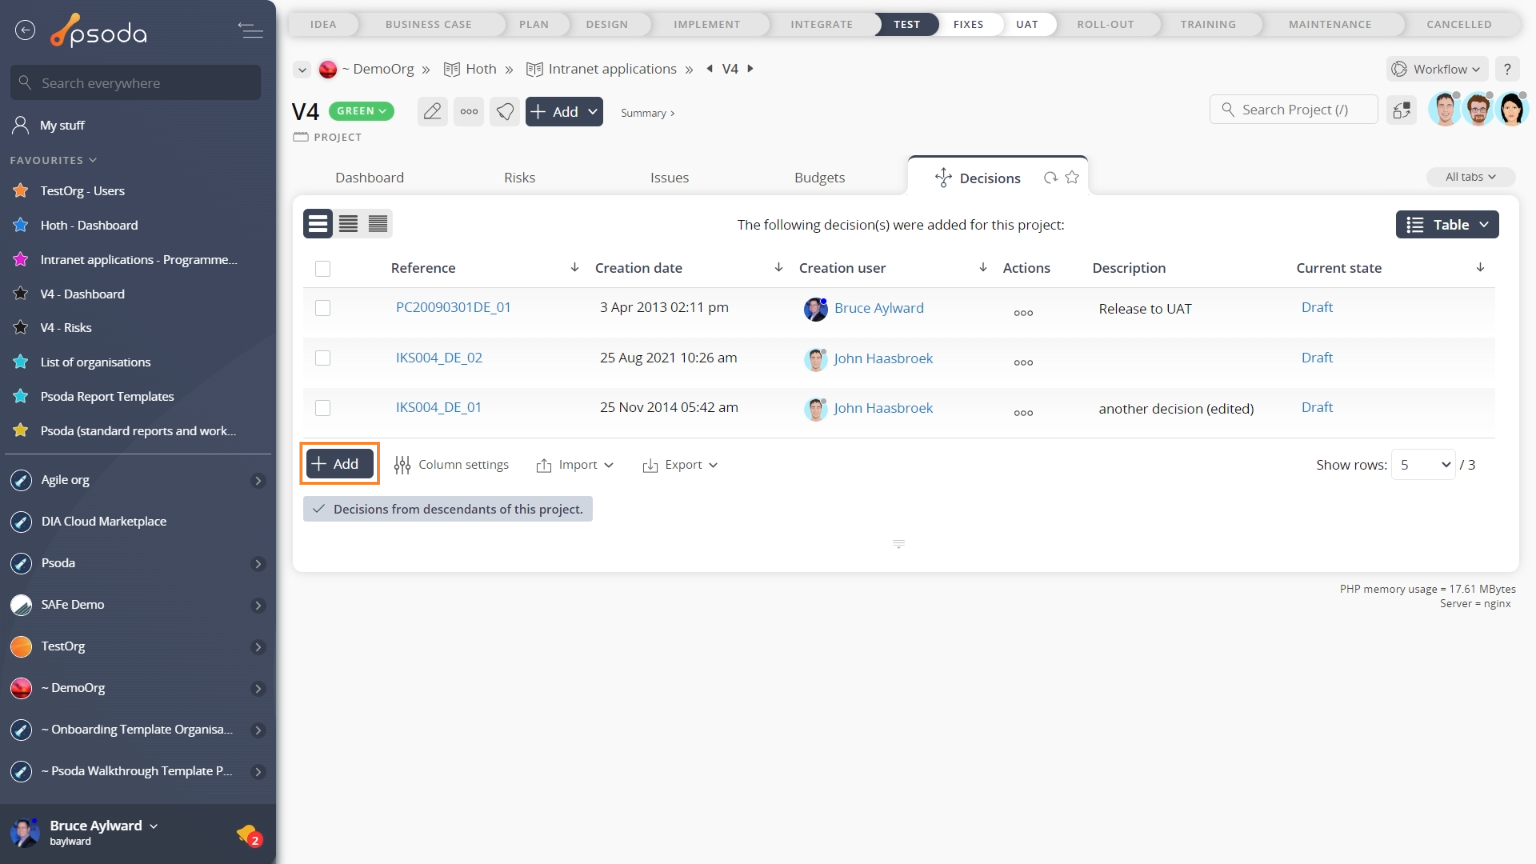
  add popup form at the bottom of the Decisions tab at these same view pages, as shown in Figure 2.
*The reference is mandatory, but all others are optional.
If you accidentally try to add a decision with the same reference as an existing decision in your project then you will get a warning message.
Once you are happy with your entries click the “Add decision” button at the bottom of the form. This will add a new decision with the details that you supplied.
The new decision can be viewed in a number of locations, including the Decisions tab at the parent asset’s view page, as shown in Figure 4. Alternatively you can view the new decision from the parent asset’s dashboard in the Open Decisions dashlet, as shown in Figure 5.

Figure 1 – Access via add menu
Figure 2 – Access via decisions tab
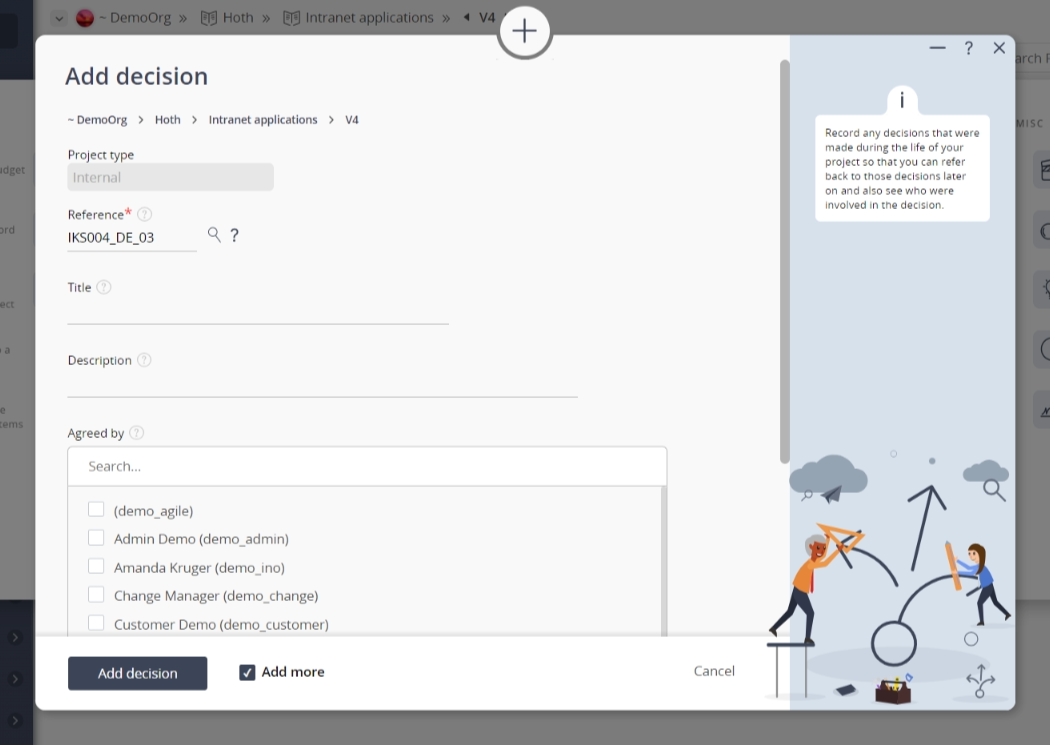
This popup is shown in Figure 3 and is used to add a new decision for the selected asset.
Figure 3 – Add decision form
This form has the following fields:| Parent asset: | This read-only field shows which programme or project this decision is being added to. If this decision is being added to the project level, you may also have a read-only field stating that project’s type. |
|---|---|
| Reference*: | Use this field to enter a reference for your decision. If you enter a prefix and end it with one or more zeros, e.g. AS_00, then you can click on the |
| Title: | Enter a short title for this new decision here. |
| Description: | Enter a longer description for this new decision here. |
| Agreed by: | Use this multi-select box to select the user(s) who agreed on this decision. You may select multiple users by holding the CTRL or SHIFT keys and clicking on the name of the additional user(s). To de-select, click on the highlighted name while still holding the CTRL or SHIFT keys so as not to lose all other selected users. |
| Custom fields: | If there are any |
| Workflow: | Select the applicable |
| Add more decisions: | Leave this check box selected if you’d like to keep this form open and add more decisions to this asset once the current decision has been created. |

Figure 4 – View from decisions tab
Figure 5 – View from Open Decisions dashlet
Click the “Cancel” button if you no longer want to add a new decision.


