You will only be able to add new users if you have sufficient access rights.
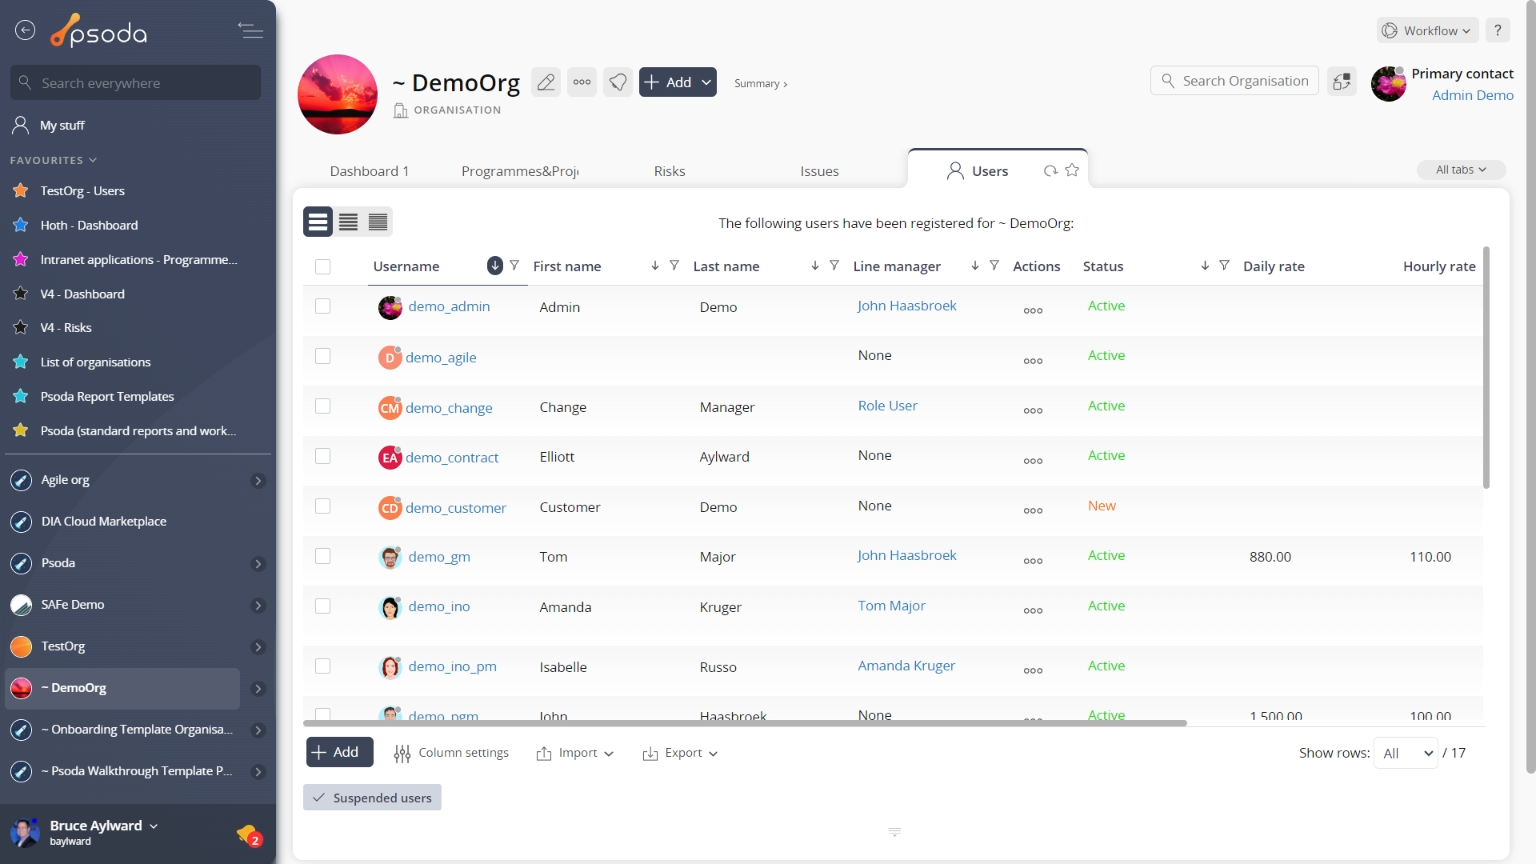
You can add a new user from the View organisation page:

Once you have added your user, you have to add it to the security group:
- Click on your organisation’s name in the navigator to bring up the View organisation page.
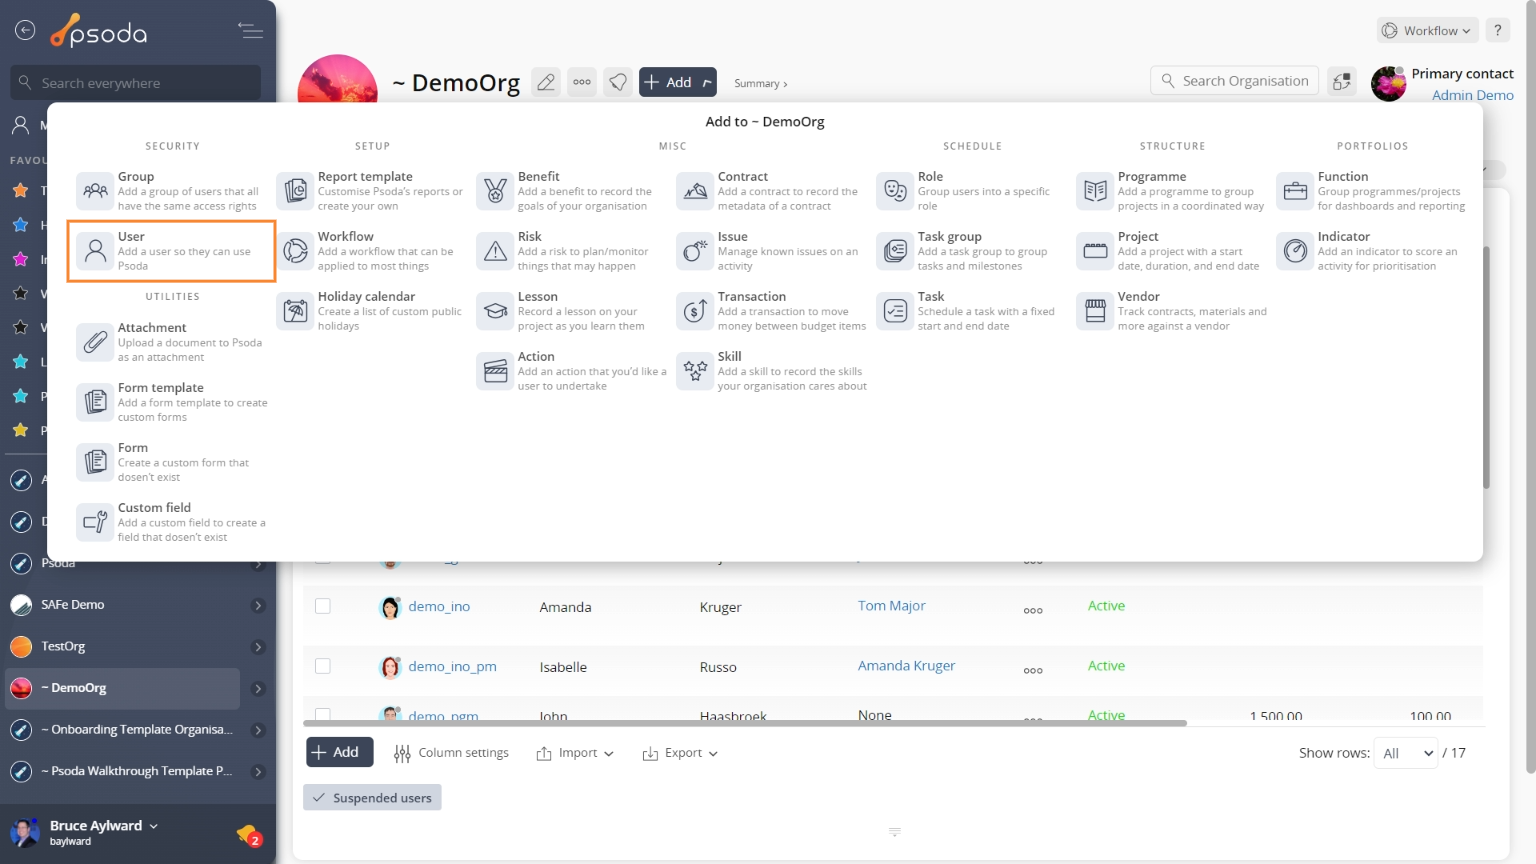
- At the top of the page there will be an add button. Click on this to reveal a menu with multiple items to add. Click
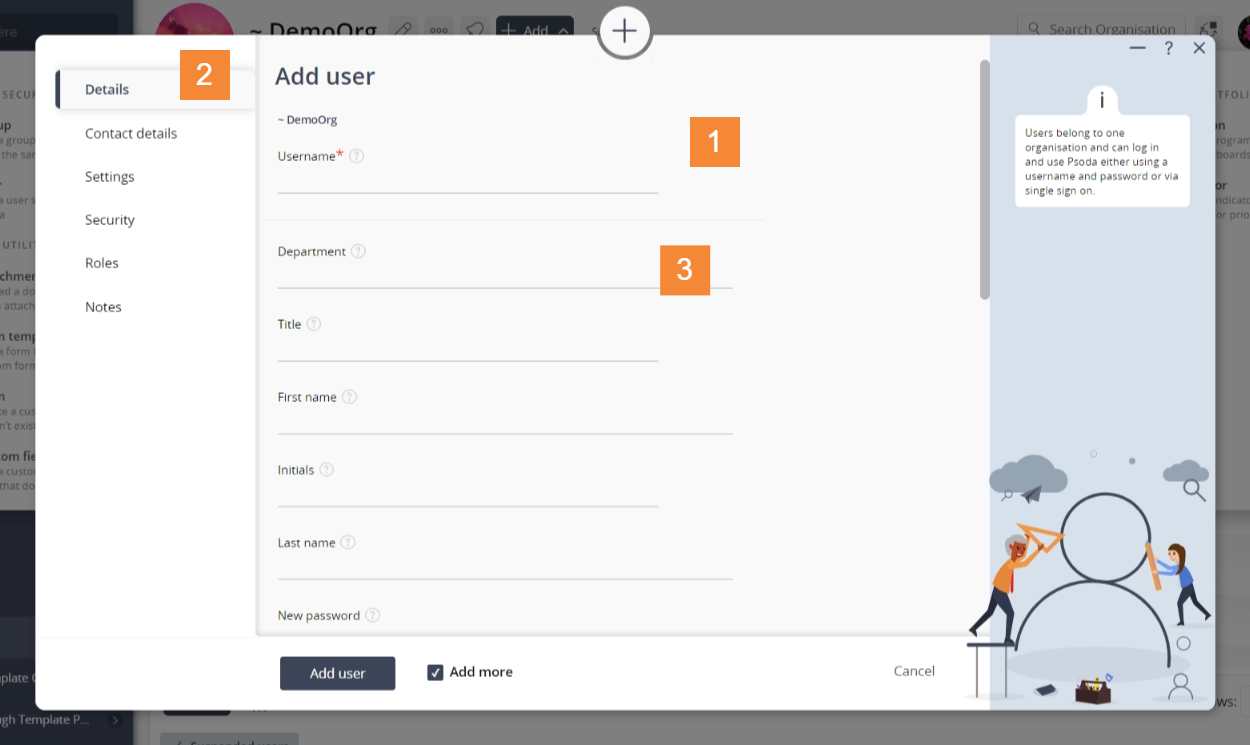
Add user to open a dialogue box you can use to add your new user. For help with this dialogue box refer to the Add user form help page.
Figure 1 – Access via add menu
Figure 2 – Add user form

Figure 3 – View from Users tab
Once you have added your user, you have to add it to the security group:
- Click on the
Groups tab. This will display a list of all the security groups for your organisation.
- Find the group you want to add the new user to. You may have to use the
icon or the
icon to move around the list to find your entry.
- Click the
Actions column menu of the table you will see the
icon. Click on this icon to open the dialogue box you use to edit the group’s details.
- Check the new user from the Non members (left box) list. This will move your new user into the Members (right box) list.
- Finally click on the Update group button.
Figure 4 – Access via groups tab
Figure 5 – Edit group form


