This popup form can be accessed via the  edit button in the top header area of the
  material view page, as shown in Figure 1. Alternatively, you can access the
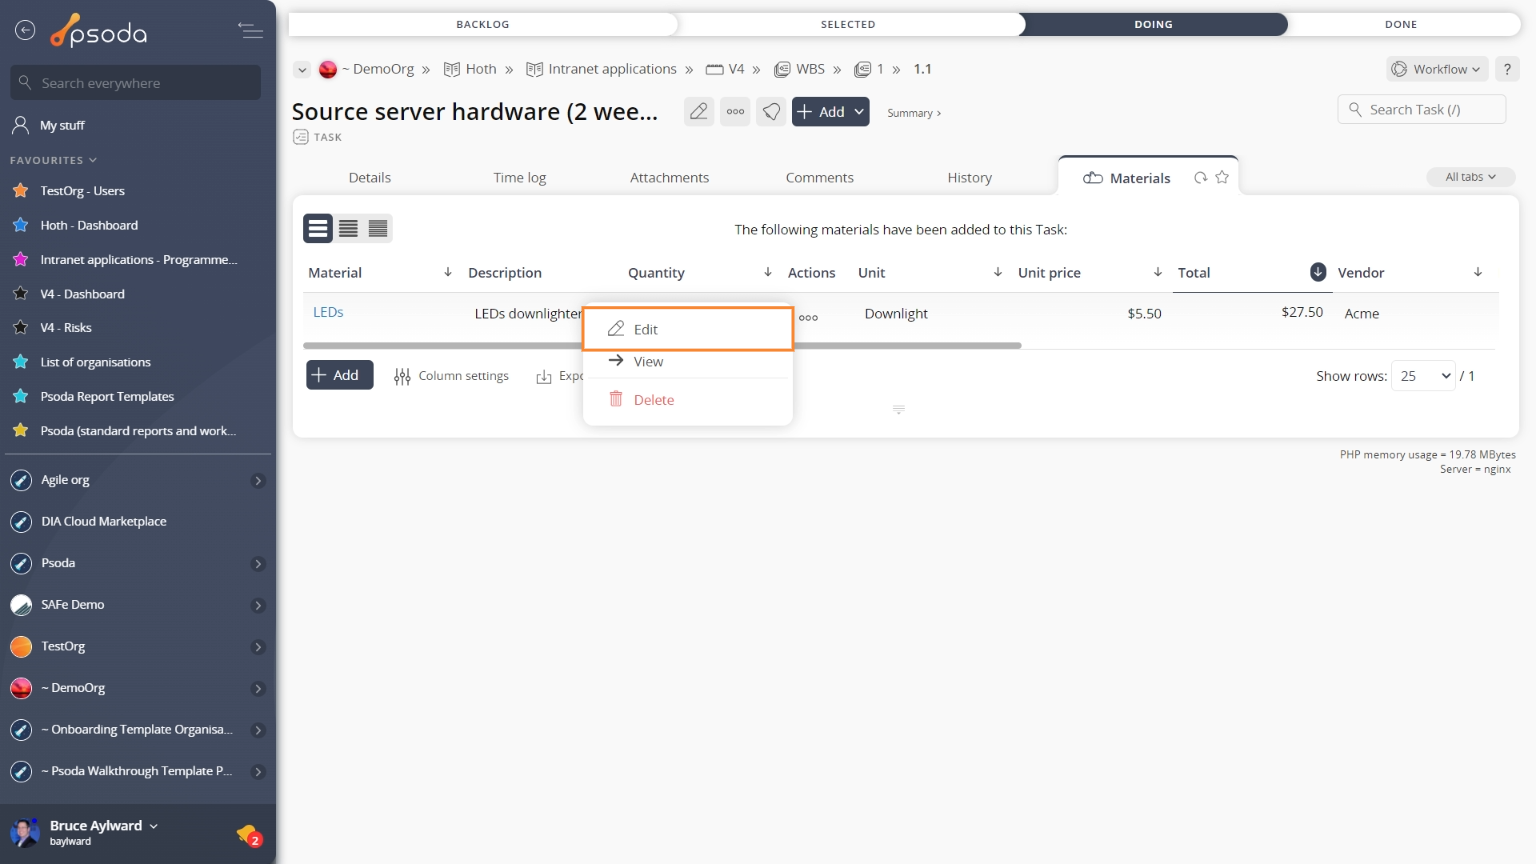
  edit popup form via the
  actions column menu of the Materials tab at any of the parent asset view pages (e.g.
  task,
task,  project,
  vendor), as shown in Figure 2.
Once you are happy with your entries click the “Update material” button at the bottom of the form. This will update the material with the details that you supplied.
Click the “Cancel” button if you no longer want to update the material.
Figure 1 – Access via edit button
Figure 2 – Access via materials tab
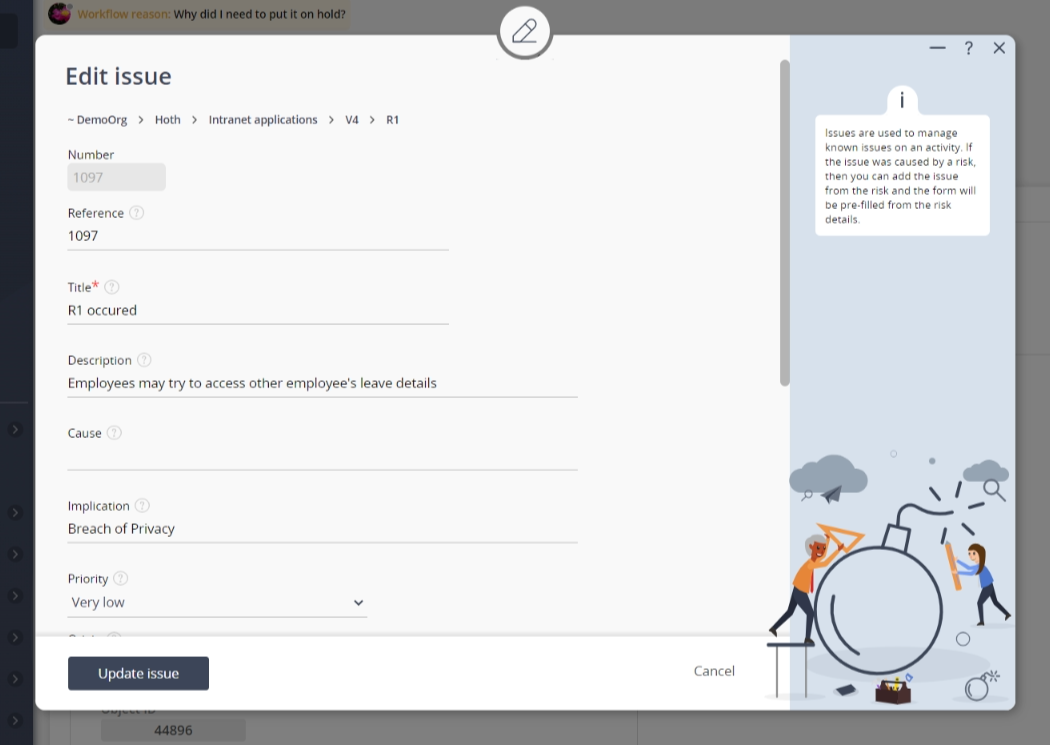
This popup is shown in Figure 3 and is used to edit an existing material for a
task.
Figure 3 – Add material form
This form has the following fields:| Task: | This read-only field shows which task this material belongs to. |
|---|---|
| Name*: | Enter or edit the unique name for this material. |
| Description: | Enter or edit the description of this material. |
| Quantity: | Enter or edit the quantity of the material required. For example if you need 10 meters of cable then enter 10. |
| Unit: | Enter or edit the unit of measurement for the quantity. In the above example you may enter meters or just m. |
| Unit price: | Enter or edit the cost price per unit measure,for example per meter of cable. |
| Lead time: | Enter of edit how long before the material is required before you need to place an order with the vendor. |
| Ordered: | Select this check box if this material has been ordered. |
| Delivered: | Select this check box if this material has been delivered. |
| Archived: | Select this check box if you would like to assign this material as archived. |

