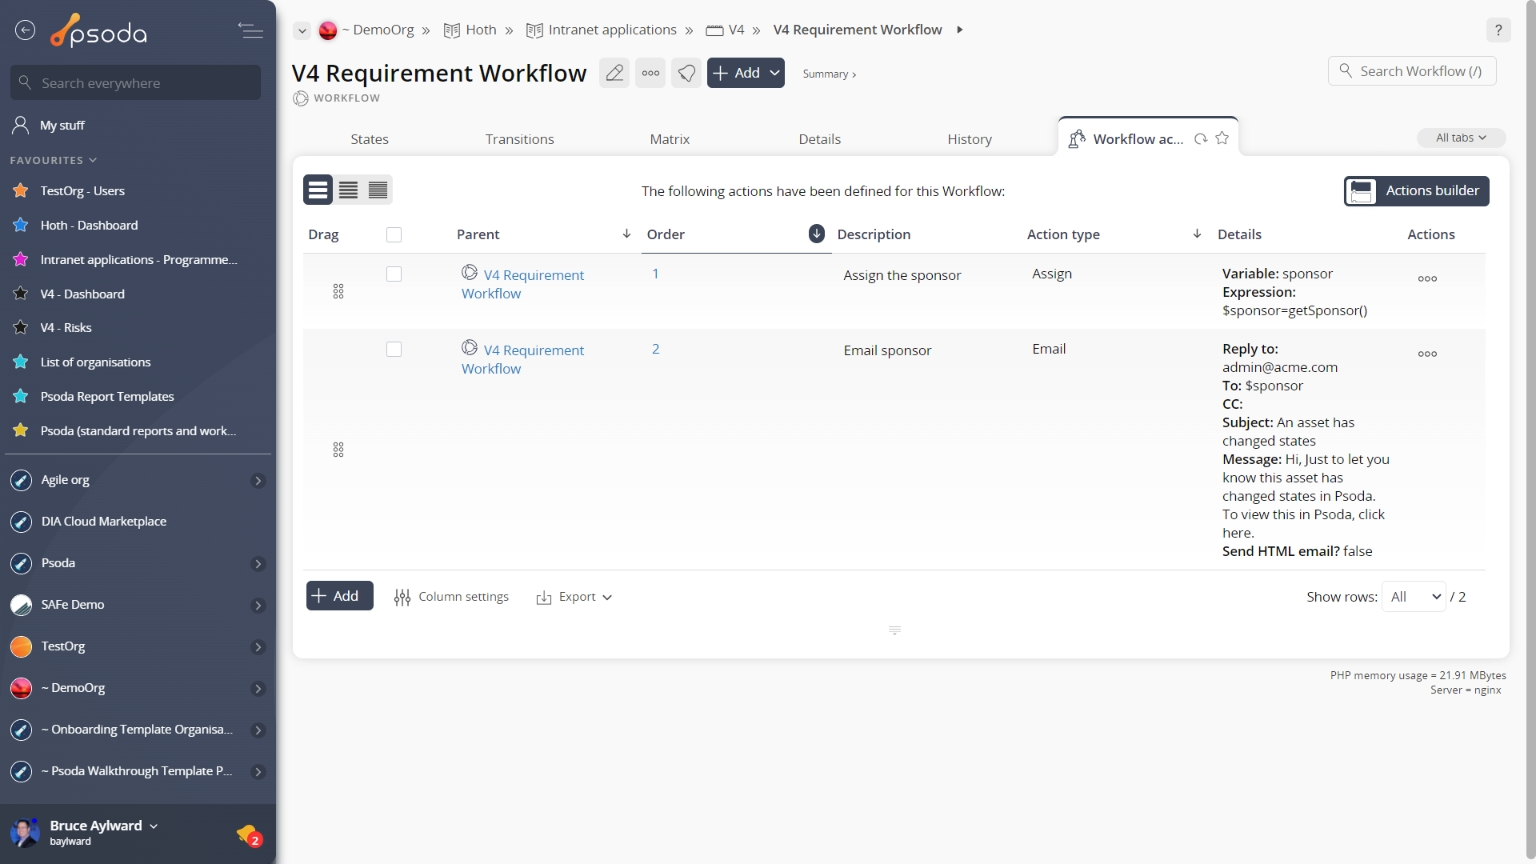
This popup form can be accessed via the  add menu in the top header area of the
  workflow state view page, as shown in Figure 1. Alternatively, you can access the
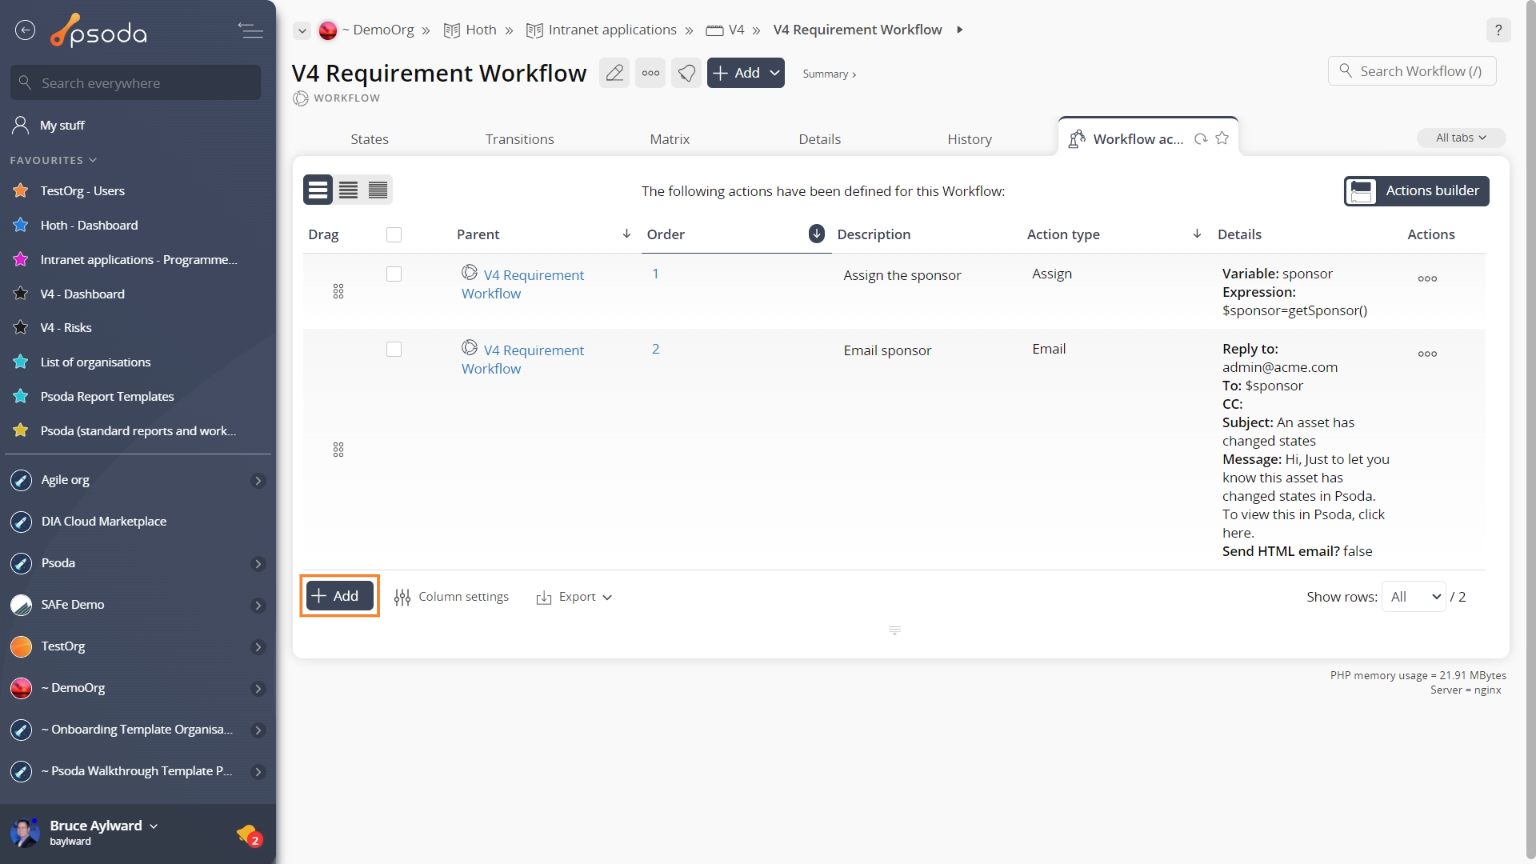
  add popup form at the bottom of the Workflow actions tab at this same view page, as shown in Figure 2.
*The order field is mandatory, but all others are optional.
Once you are happy with your changes click the “Add workflow action” button at the bottom of the form. This will add a new workflow action with the details that you supplied.
The new workflow action can be viewed in the Workflow actions tab asset listing at the parent workflow state’s view page, as shown in Figure 4.

Figure 1 – Access via add menu
Figure 2 – Access via workflow actions tab
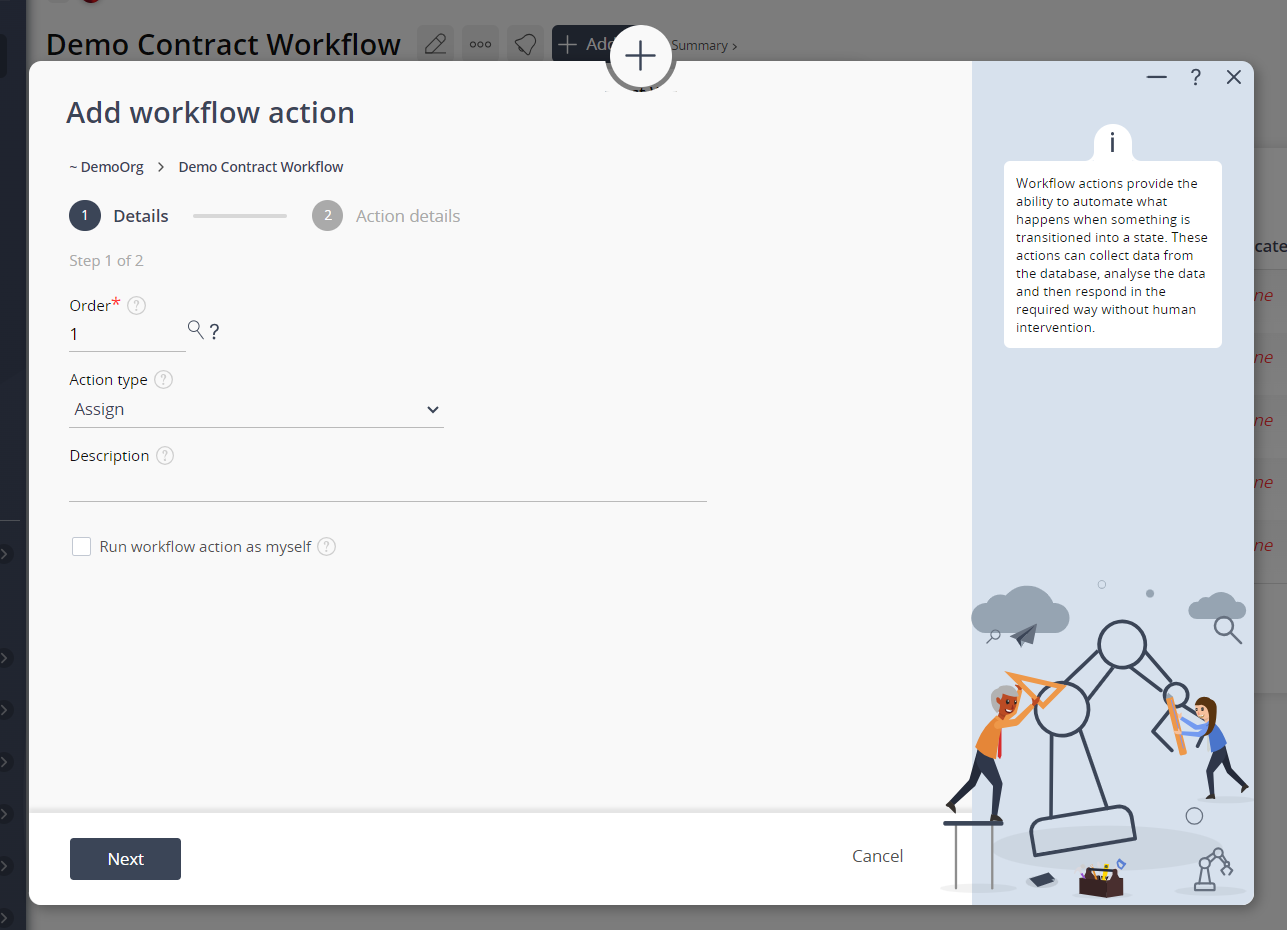
This popup is shown in Figure 3 and is used to add a new workflow action for the selected workflow state.
Figure 3 – Add workflow action form
This form has the following fields:| Parent assets: | These read-only fields show which |
|---|---|
| Order*: | Enter the order number for this new workflow action here. This can indicate the order or appearance, if you would like to assign the next available reference automatically, click on the |
| Action type: | Use this drop-down list to select which type you would like to assign this workflow action to.The action types available are listed below:
|
| Description: | Enter a description for this new workflow action here. |
| Action type specific fields: | When you select the Next button at the bottom of this form, new fields will appear that can be filled in. These bottom fields will depend on the action type option that has been selected above. |

Figure 4 – View from Workflow Actions tab
Click the “Cancel” button if you no longer want to add this workflow action.
