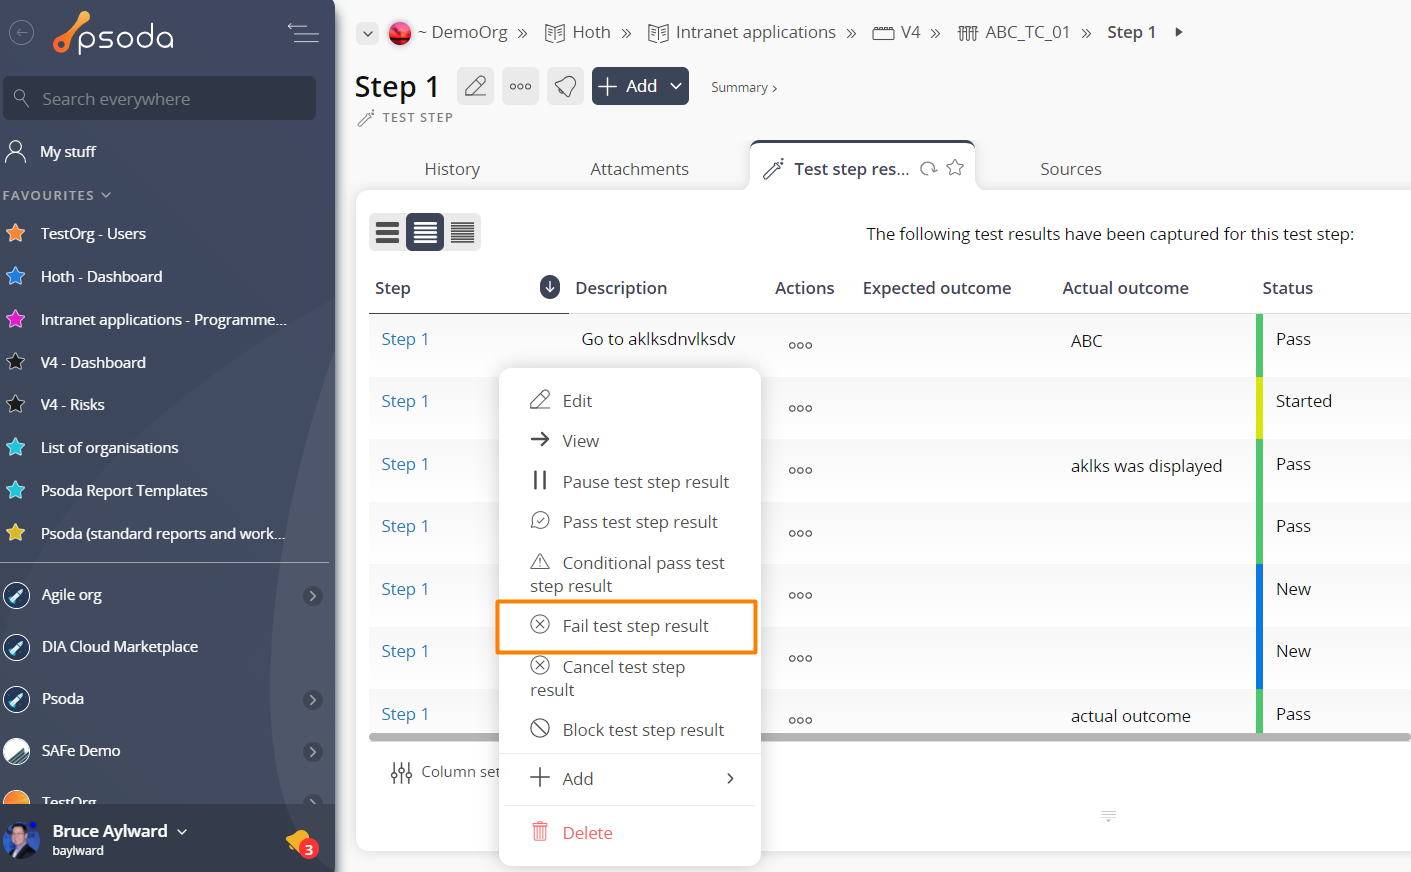
If the selected test step result is currently started, this popup form can be accessed via the  options menu in the top header area of the test step result view page, as shown in Figure 1. Alternatively you can access the
  fail popup via the
  actions column menu of the listing at the Test step results tab at the test step view page, as shown in Figure 2.
Figure 1 – Access via options menu
Figure 2 – Access via actions column menu
This confirmation popup is shown in Figure 3 and confirms that you wanted to fail the selected test step result.
Figure 3 – Fail test step result confirmation popup
Here you may use the Actual Outcome field to record the reason for failing this test step result and select if you want to add a defect that reflects the fact that this test step result will have been failed.
Click on the “Fail test step result” button to change the test step result’s status to “Failed”, with or without creating a related defect. Otherwise, click on the “Cancel” button if you no longer want to fail this test step result.
