A  timesheet can be added for a
  user for each calendar week.
This popup form can be accessed via the
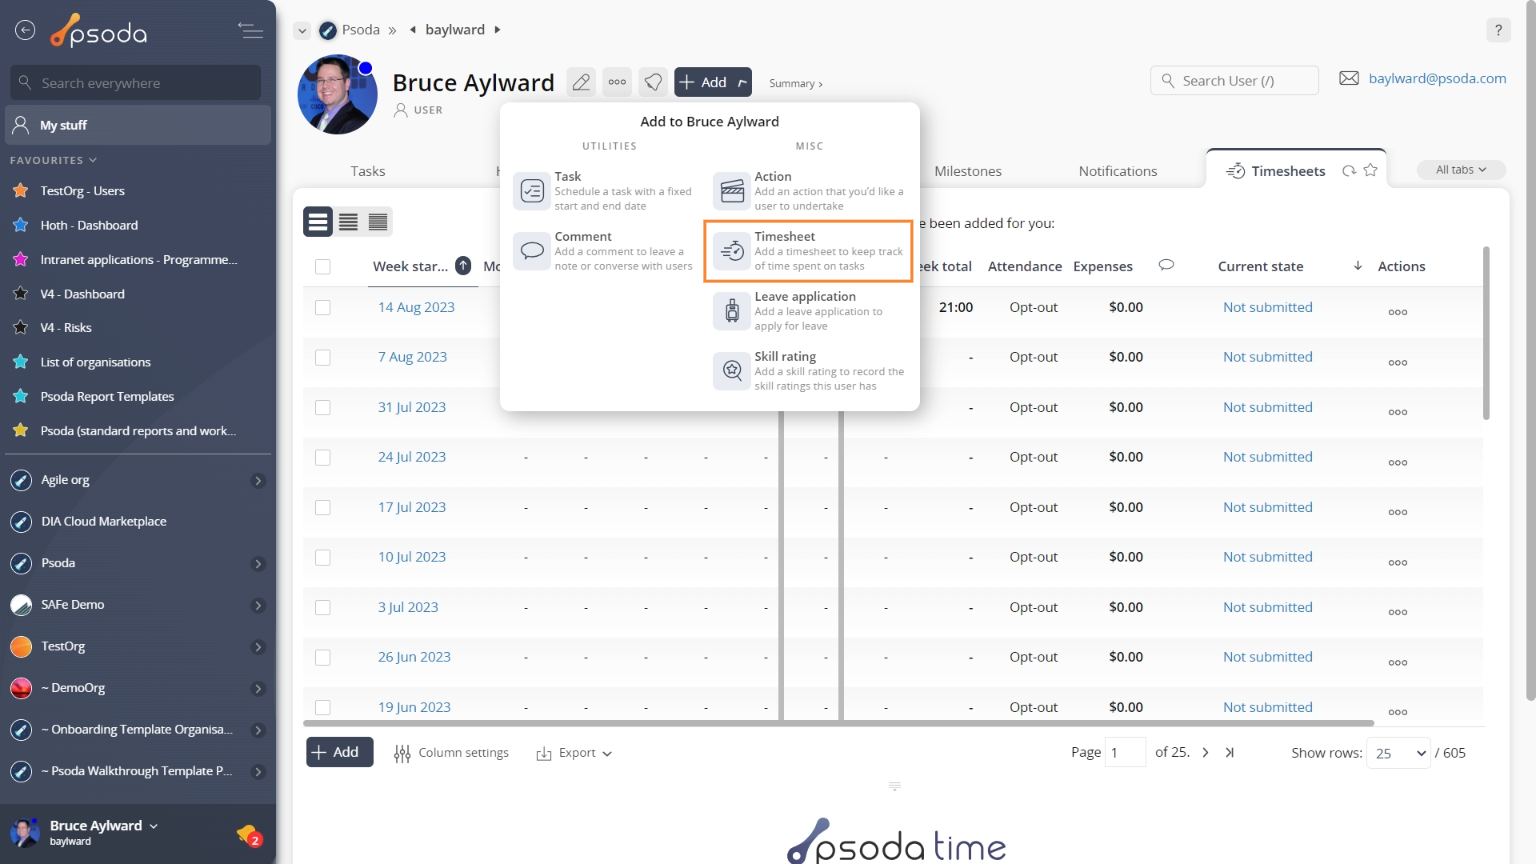
  add menu in the top header area of the user’s view page or the “My Stuff” page if you are wanting to add a new timesheet for your own account, as shown in Figure 1. Alternatively you can access the
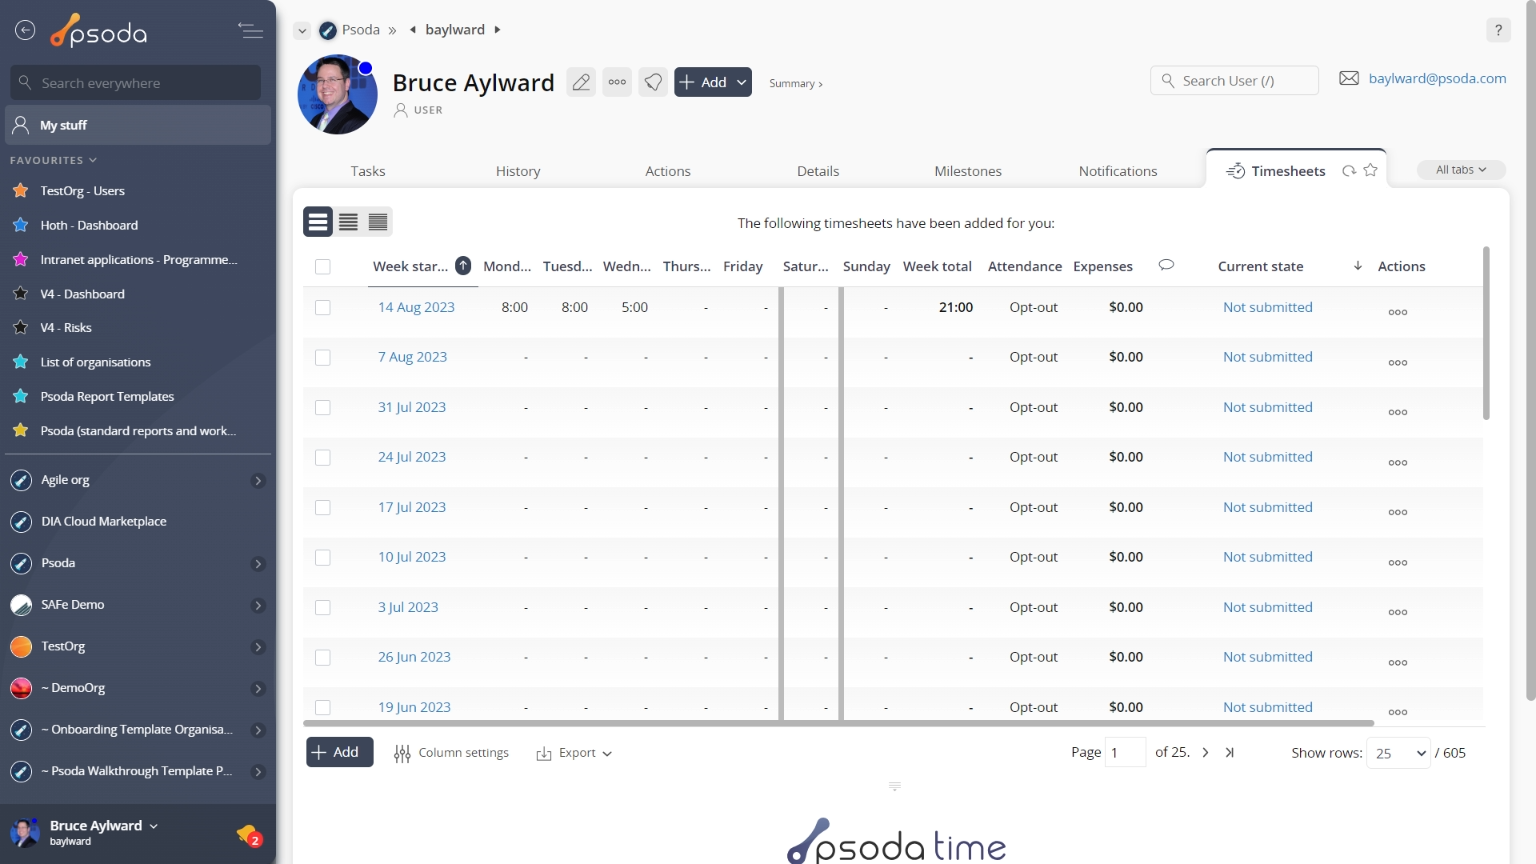
  add popup form at the bottom of the Timesheets tab at this same page, as shown in Figure 2.

Once you are happy with your selection click the “Add timesheet” button at the bottom of the form. This will add a new timesheet with the date that you selected.
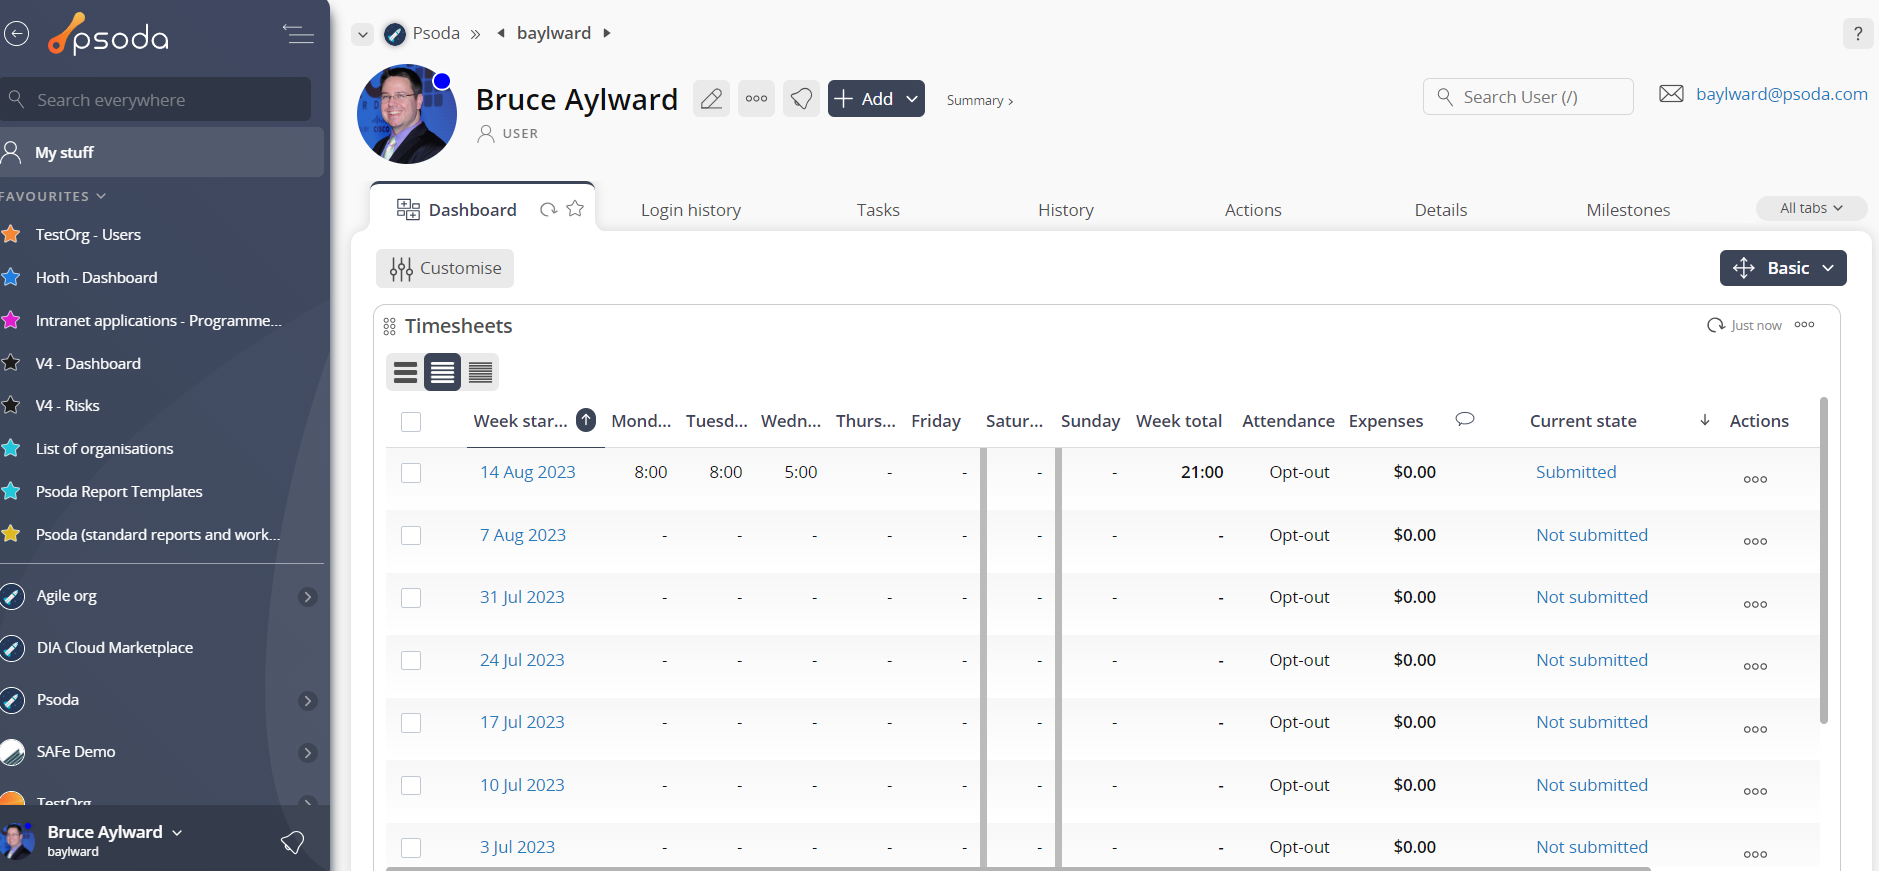
The new timesheet can be viewed in a number of locations, including the Timesheets tabs at the user’s view pages, as shown in Figure 4. Alternatively you can view the new timesheet from the user’s dashboard in the Timesheets dashlet, as shown in Figure 5.

Figure 1 – Access via add menu
Figure 2 – Access via timesheets tab
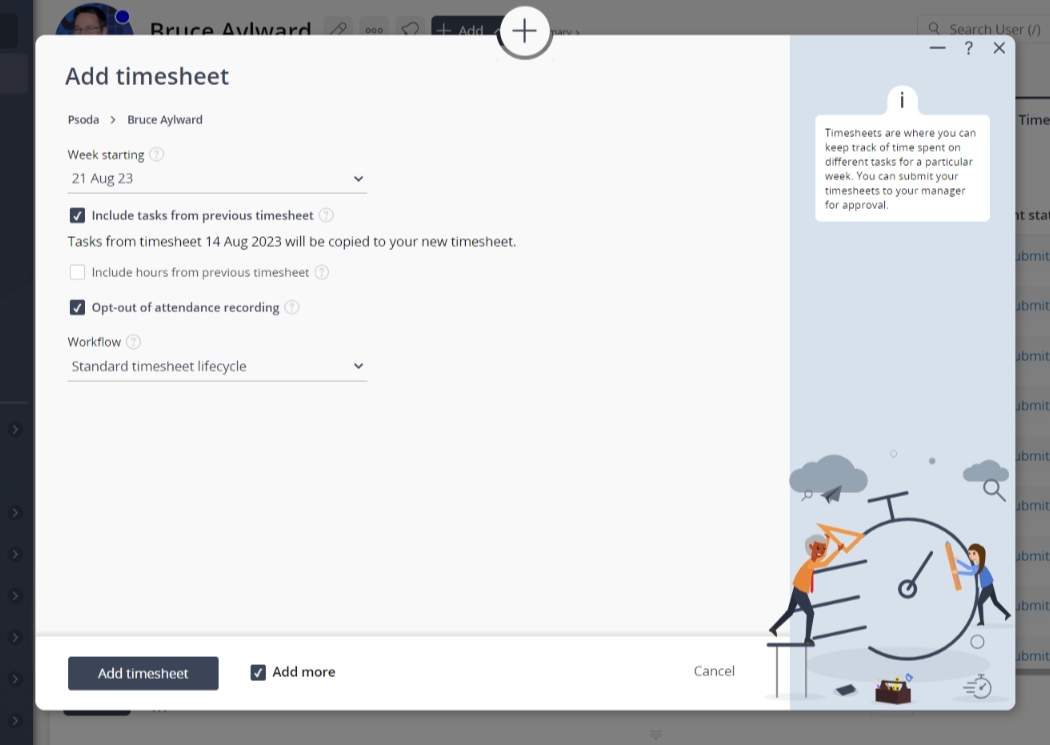
This popup is shown in Figure 3 and is used to add a new timesheet for the user.
Figure 3 – Add timesheet form
This form contains the following fields:| User: | This read-only field shows which user you are adding this timesheet for. |
|---|---|
| Week starting: | Select the start date for this timesheet from the drop-down list that is provided. The list contains the first day of each week for the last 52 weeks including the current week. If a timesheet already exists for a particular week then that date will not appear in the list.The start day of the timesheet depends on the “first day of the week” set for the organisation. |
| Include tasks from previous timesheet: | Select this check box if you would like to carry over the timesheet tasks that were in this user’s previous timesheet to this new timesheet. |
| Opt-out of attendance recording: | Select this check box if you do not want this timesheet to be included in any attendance recording. |
| Workflow: | Select the applicable |
| Add more timesheets: | Select this check box if you’d like to keep this form open and add more timesheets to this user once the current timesheet has been created. |

Figure 4 – View from Timesheets tab
Figure 5 – View from Timesheets dashlet
Click the “Cancel” button if you no longer want to add a new timesheet.

